I’ve shared tech tutorials in the past when I’ve found a solution to a problem that no one else seems to solve online. I’ve happened across another one as I was in the process of upgrading my computer. I got a new motherboard and hard drives but kept the case, and discovered that the pins that should have connected the motherboard to the case were set up in a manner that was incompatible. But I didn’t need to buy a new case, it turned out – I just needed a little ingenuity and a willingness to not allow the manufacturer to impose constraints on me!
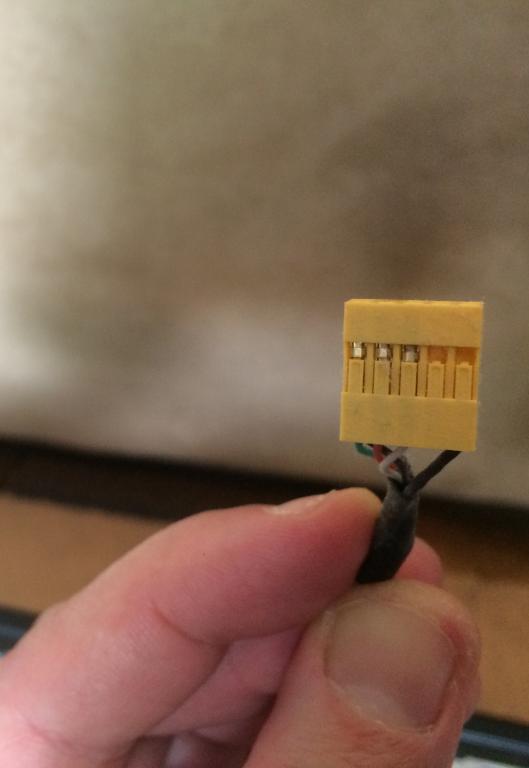
The issue was that the motherboard had pins that were aligned differently than those on the connector cable coming from the case, which had a single block at the end with one possible pin location closed off, as you can see in this photo below:
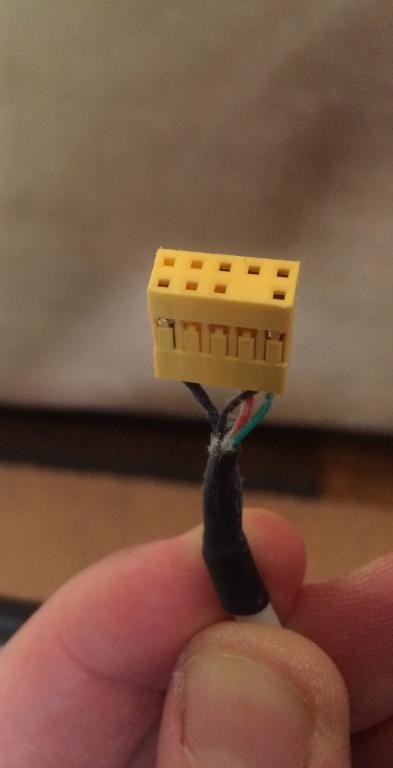
In theory that could be helpful, preventing someone from plugging the connector in to the motherboard the wrong way. But when the wiring doesn’t line up and the location that is closed is one where there’s a pin sticking out of the motherboard, it might seem that one’s only option would be to buy a new case. It isn’t, and I’ll explain here what I did step by step.
Let me start with the issue of the arrangement of the wires. You can actually remove the connector block and rearrange them! You’ll need a tiny tool like a small screwdriver for eyeglass screws, or something similar. I imagine that a pin might work. The connector block has tiny tabs that hold wires in place. Lift these very slightly and gently, just enough that the wires are freed, as the tabs could break off easily, in which case you’d need to replace that part.
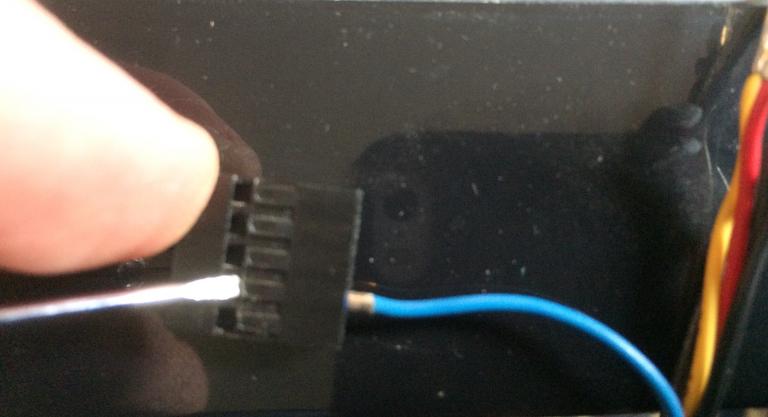
You may need to do this to more than one connector, depending on what your case’s features are and how your motherboard is laid out. Once you have done so, you’ll have the wires freed and ready to be reinserted in the appropriate configuration. But don’t do so just yet!

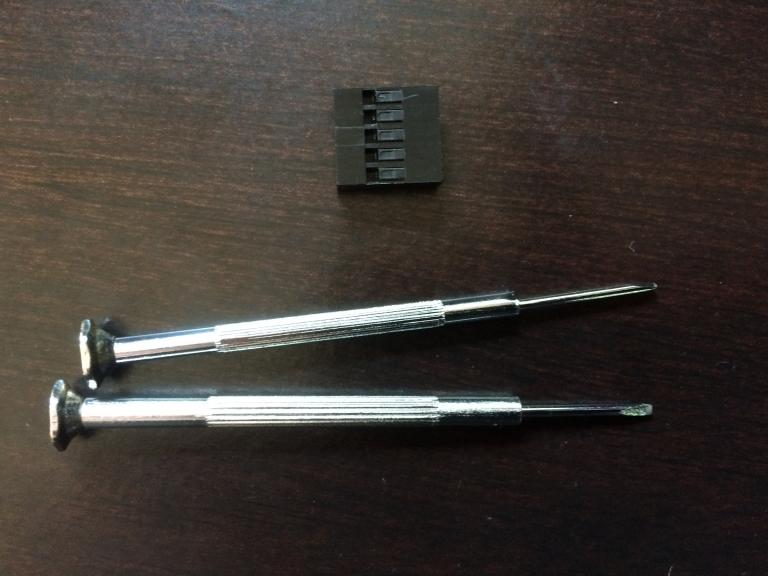
Remember that you still have one pin location closed off in the connector which will prevent you from plugging it into the motherboard even if the wires are rearranged. You’ll need your tiny screwdriver again, but for a different purpose.
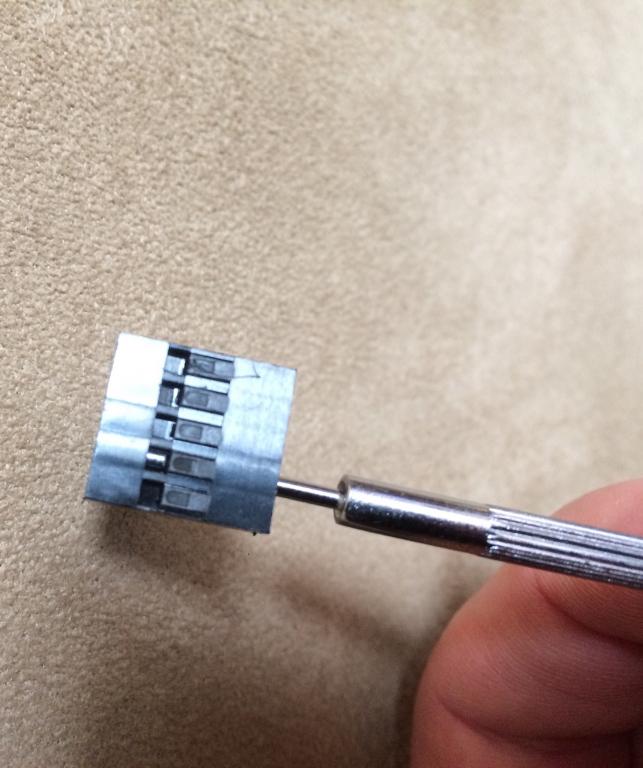
Simply push the screwdriver into the connector block and pop out the plastic that is in the way, as shown:
Now you’re ready to reinsert the wires in the appropriate configuration. Insert them into the connector block so that their locations correspond to those they need to connect to on the motherboard. Push them all the way in until the tabs that hold them in place click and the connections are thus secure. If you get one or more of them wrong initially, just gently lift the tab and change where the wire goes as you did when initially removing the wires at the start of the process.
That’s all there is to it. Now connect the block(s) to your motherboard so that it can interact with your case however it is designed to. It will at least control the power button and almost certainly headphone and microphone jacks as well. But some have multiple lights and other features, and as long as the pins on the motherboard are arranged in such a way that your existing connector (with the annoying bit of plastic pushed out, obviously) can fit over the pins, then just follow the steps in this post and you’ll be all set.
Please let me know how this solution works for you!