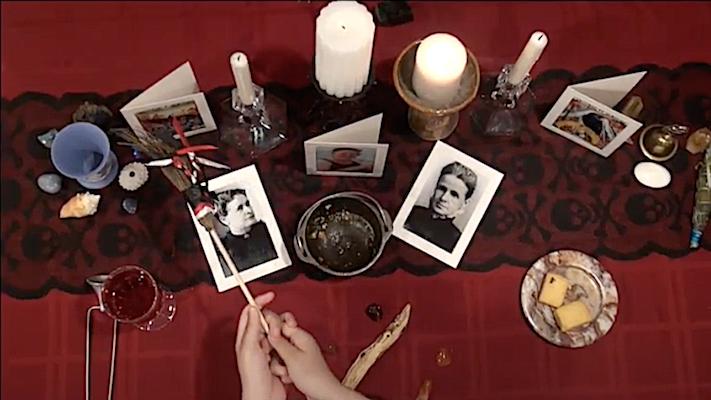
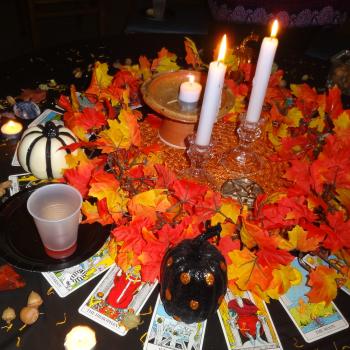
I was recently packing up the Samhain altar supplies from our CUUPs chapter’s online ritual to return to the people who loaned it. I found myself feeling nostalgic while holding my friend Mary’s mini broom wand. She and I have taught this craft to adults and children many times over the years.
I thought I’d make a new one and share this simple craft tutorial for CUUPs kids and the young at heart who might like to make their own mini-broom.
You will need:
- A 12” dowel or small twig or branch that is about pencil or marker thickness
- A handful of pine needles
- At least 4 rubber bands or ponytail holders (Extras can be helpful)
- Rectangle dish filled with water (ex: lasagna pan)
- Dish towels
- ¼ inch or ½ inch wide ribbons, pony beads, or other charms for decorations
- scissors
- Sandpaper (optional)
- Hot glue gun (optional)
STEP 1
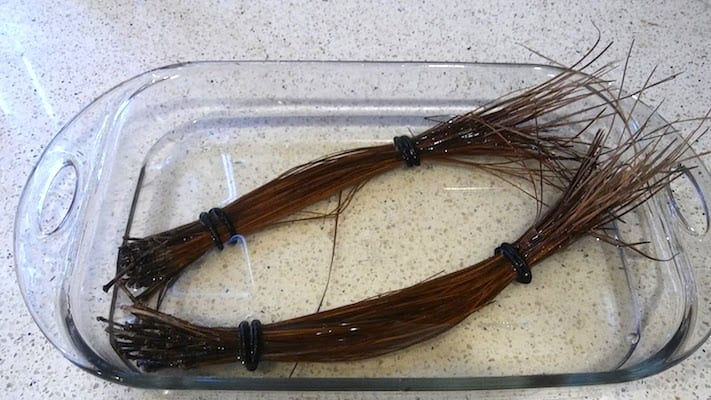
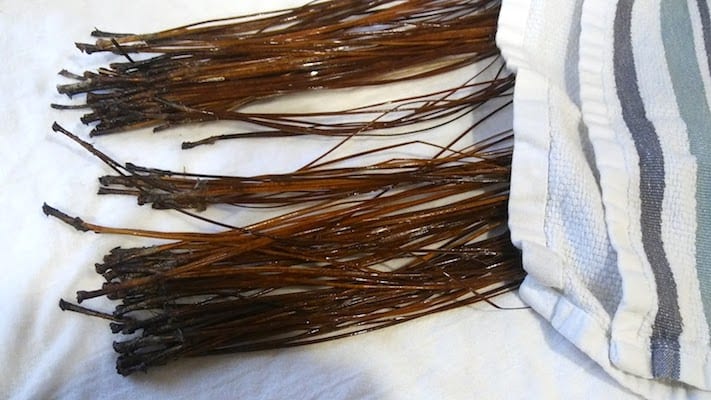
Gather and soak dry pine needles overnight in a large enough container to hold them. I used a lasagna pan. These will be your mini broom bristles. Soaking helps make the dry pine needles become more flexible so they won’t break later. You can gather them in bundles with rubber bands. It helps to arrange the pine needles so the fascicle sheaths, or little “connector” parts are all on the same side of your bundle.
If they float and won’t stay down under the water, you can use another plate or bowl to help hold them down. It’s ok if the very ends stick up out of water if most of the bundle is submerged.
If using a small twig or branch for your mini broom handle rather than a craft dowel, you can leave it rough or remove the bark and sand it down first.
STEP 2
The next day, untie the bundles. Spread your pine needles out on a towel. You can gently press down on them with another towel to remove any excess moisture.
STEP 3
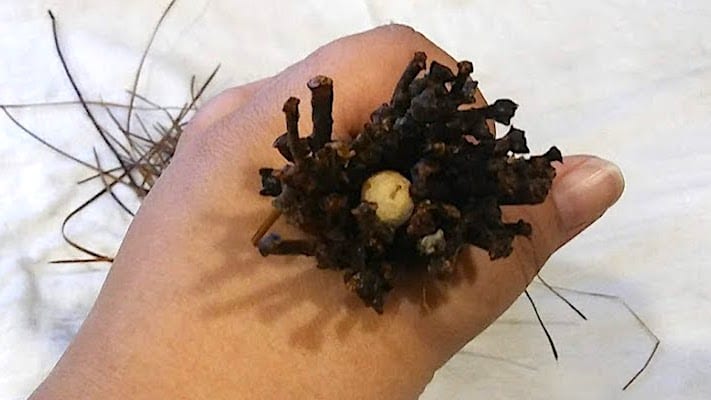
Gather the pine needles around the stick in your hand. Tap the end with your other hand to make sure the fascicle sheaths are evenly lined up with the stick. You want enough pine needles to go all around the stick nicely but not so many it becomes hard to secure with rubber bands later.
STEP 4
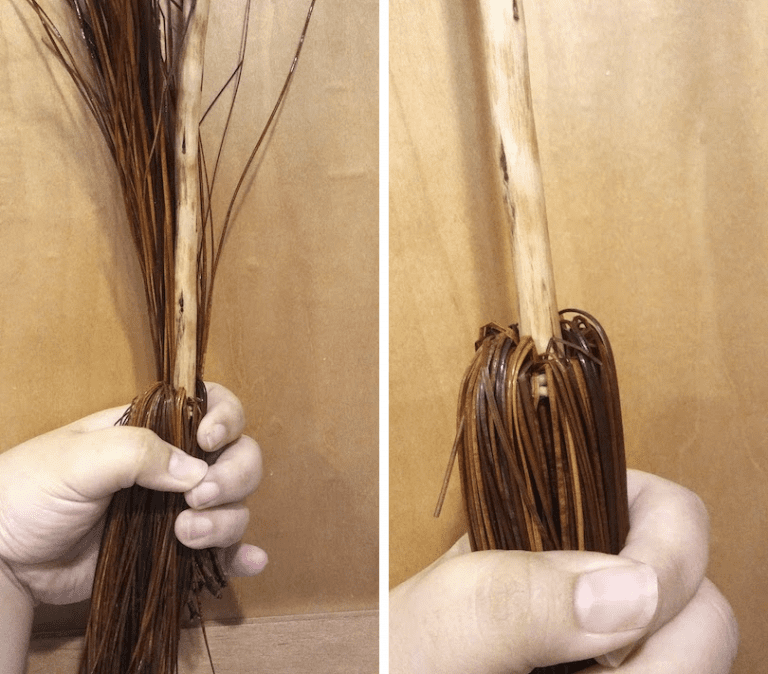
Attach a rubber band about two or three inches in from the end of the stick. Attach a second rubber band about one inch in. At this stage the pine needles might hide your stick entirely.

STEP 5
Hold your mini broom with the rubber band side pointing down and the free end of the stick pointing up. Working in small sections, fold the pine needles back down over the rubber band that you placed 2 inches in. Take your time as you fold needles down all around the mini broom.
STEP 6
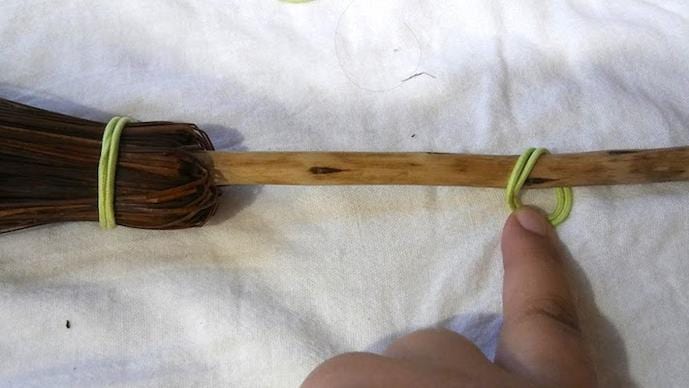
Once all the pine needles have been folded down, help hold them in place by slipping on two more rubber bands. You may find it easier to loop the rubber bands a few times on the plain stick side. Then stretch them up and over the bundle side. Like before, you might place a rubber band about two inches in to start. Then place a second rubber band about one inch into the bundle. You can leave your mini broom “wild” on the end or use scissors to give the pine needles a trim.
STEP 7
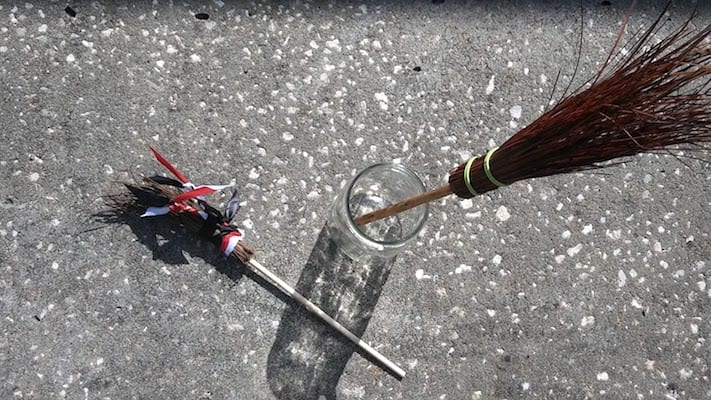
Place your mini broom in a glass or vase to dry in the sun. Make sure you let it dry fully before decorating with ribbons or beads or you will risk growing mold or mildew in the damp center of the bundle!
Optional — If you find the decorative ribbons slip, you can use a dab of hot glue to secure them in place.
At our online Samhain, my daughter used Mary’s decorated mini broom wand to cast the circle around the table top. You can use your mini broom in your personal spiritual practice as a wand to sweep sacred space in a similar way. Or you can simply use it as fun seasonal decor. Enjoy crafting!