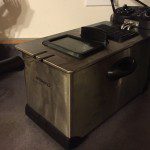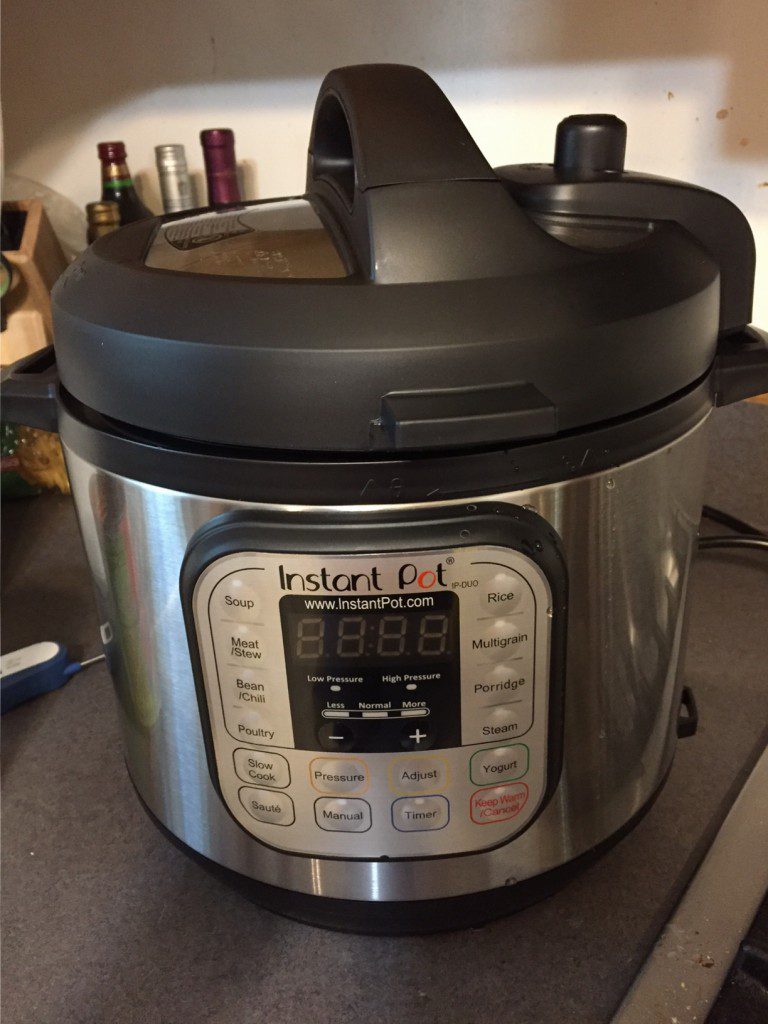
Here’s an update on the Instant Pot, which I purchased back in July:
I am still trying out recipes, and at the moment have a long list of recipes from cookbooks that all came off hold from the library at the same time, which I’m trying to work my way through.
I’m discovering some limitations:
First, the notion of browning meat in the instant pot directly is great, but the surface area of the pot really does limit how much you can take advantage of this feature. I tried a recipe for pork chops for which browning the chops in the instant pot would have taken forever, because it would have been necessary to do so many separate batches. On the other hand, browning a pot roast worked out pretty well, because it was just one thick hunk of meat, and frying up some bacon was fine, too. In general, I don’t have much patience for recipes which claim to be “one pot” meals of whatever sort, but which require multiple steps of removing items from the pot, setting it aside, cooking another item, and ultimately adding everything from their “set-aside” spots.
Second, the fact that the pot requires some cooking liquid to start with makes it difficult to end up with a good gravy — at least, of the recipes I’ve tried so far, the ones that had a finishing step of making gravy with a cornstarch slurry or by reducing the liquid, didn’t work out at all; the gravy was way, way too runny.
It also seems, so far at least, somewhat unpredictable as to how long it takes a recipe to get up to pressure, which means, in multiple instances, dinner has been considerably later than it was planned for, and then tonight, trying to build in a lot of time, dinner was done before I even had a chance to get my son started on setting the table. So I need more experience with this to figure out what it is that determines this variability.
I’m also not a fan of recipes that require a natural release, because that’s again another factor that makes the duration of the recipe unpredictable (as well as longer), but I’ve discovered that, despite a someone ominous instruction of the Bad Things that can happen with a quick release, this has been just fine, now that I’ve found cookbooks where the recipes are based on quick releases.
Some other recipe oddities:
It seems very standard to have a Hamburger Helper-type meal based on cooking ground beef, onions, garlic, etc., then adding sauce & pasta. But it really unnerves me to make something with ground beef without draining the fat off the meat. Yes, the recipes specify “lean” beef, but then one of them clarifies that “lean” means 85% lean, and I just can’t imagine that this is lean enough not to be fatty — and I’m not even lamenting this from a health perspective, but because it just seems like it would taste nasty. I can only visualize a HH-type recipe that my sister-in-law made without draining the fat, and it was so much swimming in fat I could hardly stand it.
It also seems like a favorite recipe to use the IP to make mac & cheese, but the recipes don’t really seem to offer very much in the way of improvement over making it on the stovetop. I mean, I haven’t tried it yet, but it’s basically, “cook macaroni in the IP, drain excess water, then add cheese and evaporated milk.” Which makes the IP kind of useless.
Another thing that’s thoroughly useless is a type of recipe which tries to deal with things cooking with different speeds by telling you to pressure-cook for, say, 10 minutes, do a natural release, add in more ingredients, then bring it to pressure again. This takes what’s intended to be a time-saving convenience device and make it more effort than “regular” cooking.
But I have discovered that the Instant Pot works pretty well as a rice cooker, and is much faster than my regular rice cooker.
Anyway, here are some successful recipes I’ve tried:
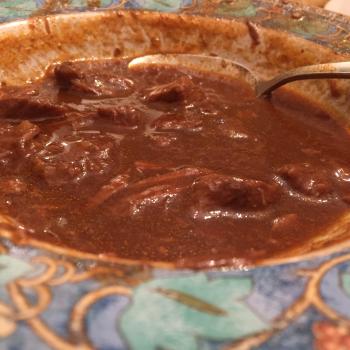
Beef Stroganoff
from The Ultimate Instant Pot Pressure Cooker Cookbook, by Ella Sanders, which, in general, I don’t recommend because it has mainly the sort of recipes that I just complained about. But here it is:
1 tbsp flour
1 tsp salt
1/2 tsp pepper
1 pound beef sirloin, cut into 1 inch pieces
1 medium onion, chopped
2 garlic cloves, minced
1 pound mushrooms, sliced
1 sprig fresh thyme
1 cup beef stock
1 tsp Worcestershire sauce
1 cup sour cream
2 cups cooked and buttered noodles
Cooking steps:
Combine flour, salt, and pepper in a bowl, roll the beef pieces in the flour mixture, shake off excess.
Add beef, onion, garlic, mushrooms, thyme, stock, and Worcestershire sauce to the Instant Pot, secure the lid.
Cook on Manual for 20 minutes, release naturally. Stir in the sour cream.
My changes:
To be honest, I don’t recall whether I used thyme; if so, it was dried, not fresh. I actually did use fresh mushrooms because they were on sale. I used round steak rather than sirloin. And I followed the recipe I typically would use, and added 2 tablespoons of flour to the sour cream before stirring it in, because otherwise it would have been a fairly runny sauce.
What I thought about it:
This met my requirements for an easy-prep meal reasonably well. I threw the ingredients into the Instant Pot before taking my son to his trumpet lesson, and when I got back a little over an hour later, it was ready to have the sour cream stirred in. Of course, I still had the issue of the noodles, which I cooked in advance and just let sit on the stove in the meantime.
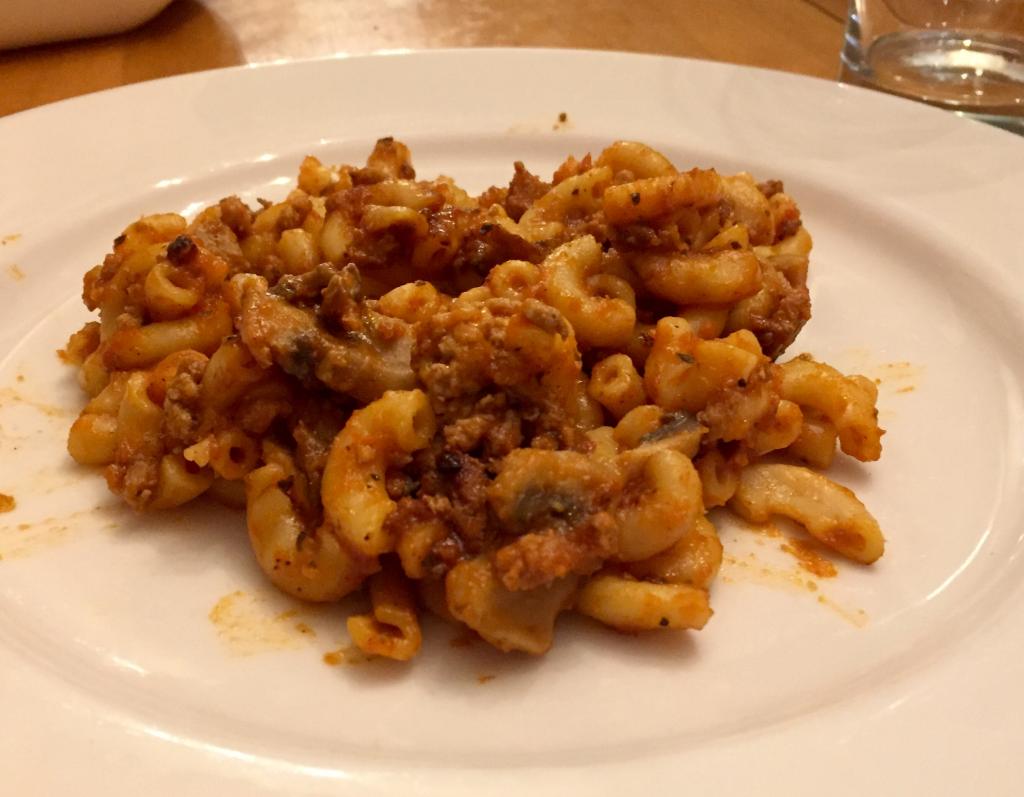
Italian Anytime Pasta
From the same cookbook.
1 pound frozen ground beef
3 cups dry penne or zita pasta
2 1/2 cups beef stock
3 cups pasta sauce
1 tsp kosher salt
1/2 tsp black pepper
1 tsp Italian seasoning
1/2 tsp garlic powder
1/2 cup shredded mozzarella cheese
Cooking steps:
place all of the ingredients into the IP in the order listed. Pressure-cook on manual for 20 minutes, natural release. Then break meat apart with rubber spatula and serve.
My changes:
So as I said, I find the idea of cooking ground beef without draining the fat to be icky. I used 93% lean ground turkey instead. And the recipe presumes that you use frozen ground beef because you’ve bought it on some sort of loss-leader sale. I used to do this a lot — there was a grocery store which would periodically have 93% lean ground beef at a spectacularly-cheap price, so I’d buy a whole bunch, but I went one step further and would cook it, then freeze it. In any case, now I get my ground meat from Aldi, even if it’s not as jaw-droppingly cheap.
What I thought:
You know, it’s very promising, but it needs work. The photograph alongside the recipe is not at all what it actually looks like — this is your generic pasta-with-red-sauce recipe but the sauce ends up being fairly runny, and, even so, the pasta is very soft. But it’s not so overdone as to be mushy; it still has a little bit of bite. And, again, it was a recipe that required virtually no prep time, just a bit of dumping; it was another one that I started before a trumpet lesson and it was done when we came back. I want to try out a shorter cook time, though it might not matter if it continues to cook while the pressure is releasing, and somewhat less liquid, though, of course, too little liquid and it won’t cook properly. Conceivably, with a few more tries, it could also be a useful recipe to start just before church and be done immediately after we get back (given that we are a 5 minute walk from church and it’s been running a little under an hour once they started Bringing Up The Gifts at the start of the offering collection, not after).
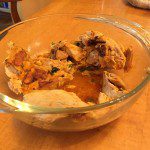
Baby Back Ribs
There are tons of recipes for ribs, but the one I used was from The Instant Pot Electric Pressure Cooker Cookbook, by Laurel Randolph.
2 tbsp kosher salt
1 tbsp brown sugar
1 tbsp chili powder
1 tbsp paprika
2 tsp garlic powder
1 1/2 tsp cayenne
1 tsp black pepper
1 3 – 4 lb rack baby back ribs
1 c. beef broth of water
BBQ sauce
Cooking steps:
In a small bowl, combine all the seasonings. Cut the rack of ribs into 4 equal pieces. Rub all sides of each piece with the spice rib. Add the broth to the IP. Add the ribs to the pot in a teepee formation and secure the lid. Cook on Manual, high pressure, for 30 minutes, then quick-release.
Preheat the oven to 425 degrees. Line a baking sheet with foil, move the ribs to the baking sheet with tongs, brush ribs on all sides with BBQ sauce and bake for 7 minutes per side.
My changes:
I was hurrying to get these done, and ended up only putting the first four ingredients into the rub. I don’t know how much difference it made. And then it took a long time to get up to pressure, and I was running late, so I only gave them half as much time in the oven as the recipe called for. Oh, and we made two racks instead of one.
What I thought:
This is pretty much what the IP is made for. Sure, it’s a nuisance to have to transfer them to the oven, but this is tons easier than grilling them, and the brief time in the oven gives them enough BBQ flavor for my non-picky family, who really enjoyed them. 30 minutes was also a good amount of time — enough for them to be tender, not so much as to be falling apart (though, for some reason, the seal wasn’t completely tight, so maybe they were supposed to be more falling-apart than they were).
Now, there are multiple recipes for ribs in my library cookbooks, and different types of ribs, too, so I suppose I’ll eventually want to figure this out, if for no other reason than to know whether the kind of ribs that’s on sale in any given week is suitable.
Braised Cabbage
Same cookbook.
3 bacon slices
1 tbsp butter
1 small head green cabbage, cored, quartered, and cut into 1/2 inch strips
1 cup vegetable or chicken broth
salt & pepper
Cooking steps:
Cook bacon on saute setting, remove and cut into pieces.
Add butter, melt, then add cabbage, broth and bacon. Season with salt & pepper, stir, pressure-cook on manual for 3 minutes, quick release.
My changes:
About the only changes I made were to cut up the bacon before cooking rather than afterwards, and I didn’t end up adding salt & pepper. I meant to add it after cooking when I could better taste how much it needed, but then I forgot. (The broth had salt in it anyway.)
What I thought:
This was pretty good, actually. I was making this as a side dish for steak, so I was OK with it taking a bit more prep time. The biggest issue was that, again, the cooking liquid was runny, so you had to strain it rather than it being a sauce for the cabbage, but that wasn’t a big deal.
Next on the list
Among other recipes on my list, I tried a “cola pot roast” and the roast part was tasty but the “cola gravy” didn’t do anything for me, so I’ll try again with a regular pot roast recipe. There’s also a polenta recipe that claims to be better than stovetop because it doesn’t require stirring, and the same with a risotto recipe, and multiple mashed potato recipes from which I have to figure out which works best. And chicken is the trickiest, both because recipes generally call for bone-in chicken, and because it’s very hard to find recipes that specify chicken amounts by weight rather than quantity of chicken breasts, where you can never tell if they are still using the convention that 1 boneless/skinless breast = 1/4 lb or if they have adjusted to the new reality that a single breast is nearly a pound, or how much you need to adjust the recipe to reflect the chicken you do have. Besides which, none of my usual grocery stores have had chicken thighs on sale in a while.
Future updates to come as I work my way through my list . . .