When we were putting the finishing touches on our Dining Room Makeover, one thing really stood out. Our Dining Table didn’t match this house. The last thing I was wanted to do was make over this table (again) after that hard work we’ve put in fixing up the kitchen.
But something had to be done y’all. It stuck out like a man in a Hawaiian shirt and flip flops at a fancy wedding. Not pretty!
I have been swooning over the tables I see at Restoration Hardware and Ballard Designs, but that new table was not in our budget.
Here’s how we made over our dining room table for $20 and leftover paint.

We purchased our Dining Room table on Craigslist for $150 over 4 years ago and refinished it with the beautiful Mahogany/Cream two tone pictured above. You can click the photo for more details of the original refinishing.
We loved the look of the table, but when we put it in our new home, it didn’t look quite right.

The original cream color had yellowed making the white more of a buttery cream. It clashed so bad with all the white in the room and trim.
So where did I go? Pinterest of course! I started searching for inspiration, like this one from Ballards.
Or this piece from Wayfair. I love the dirty, chippy paint on the legs.
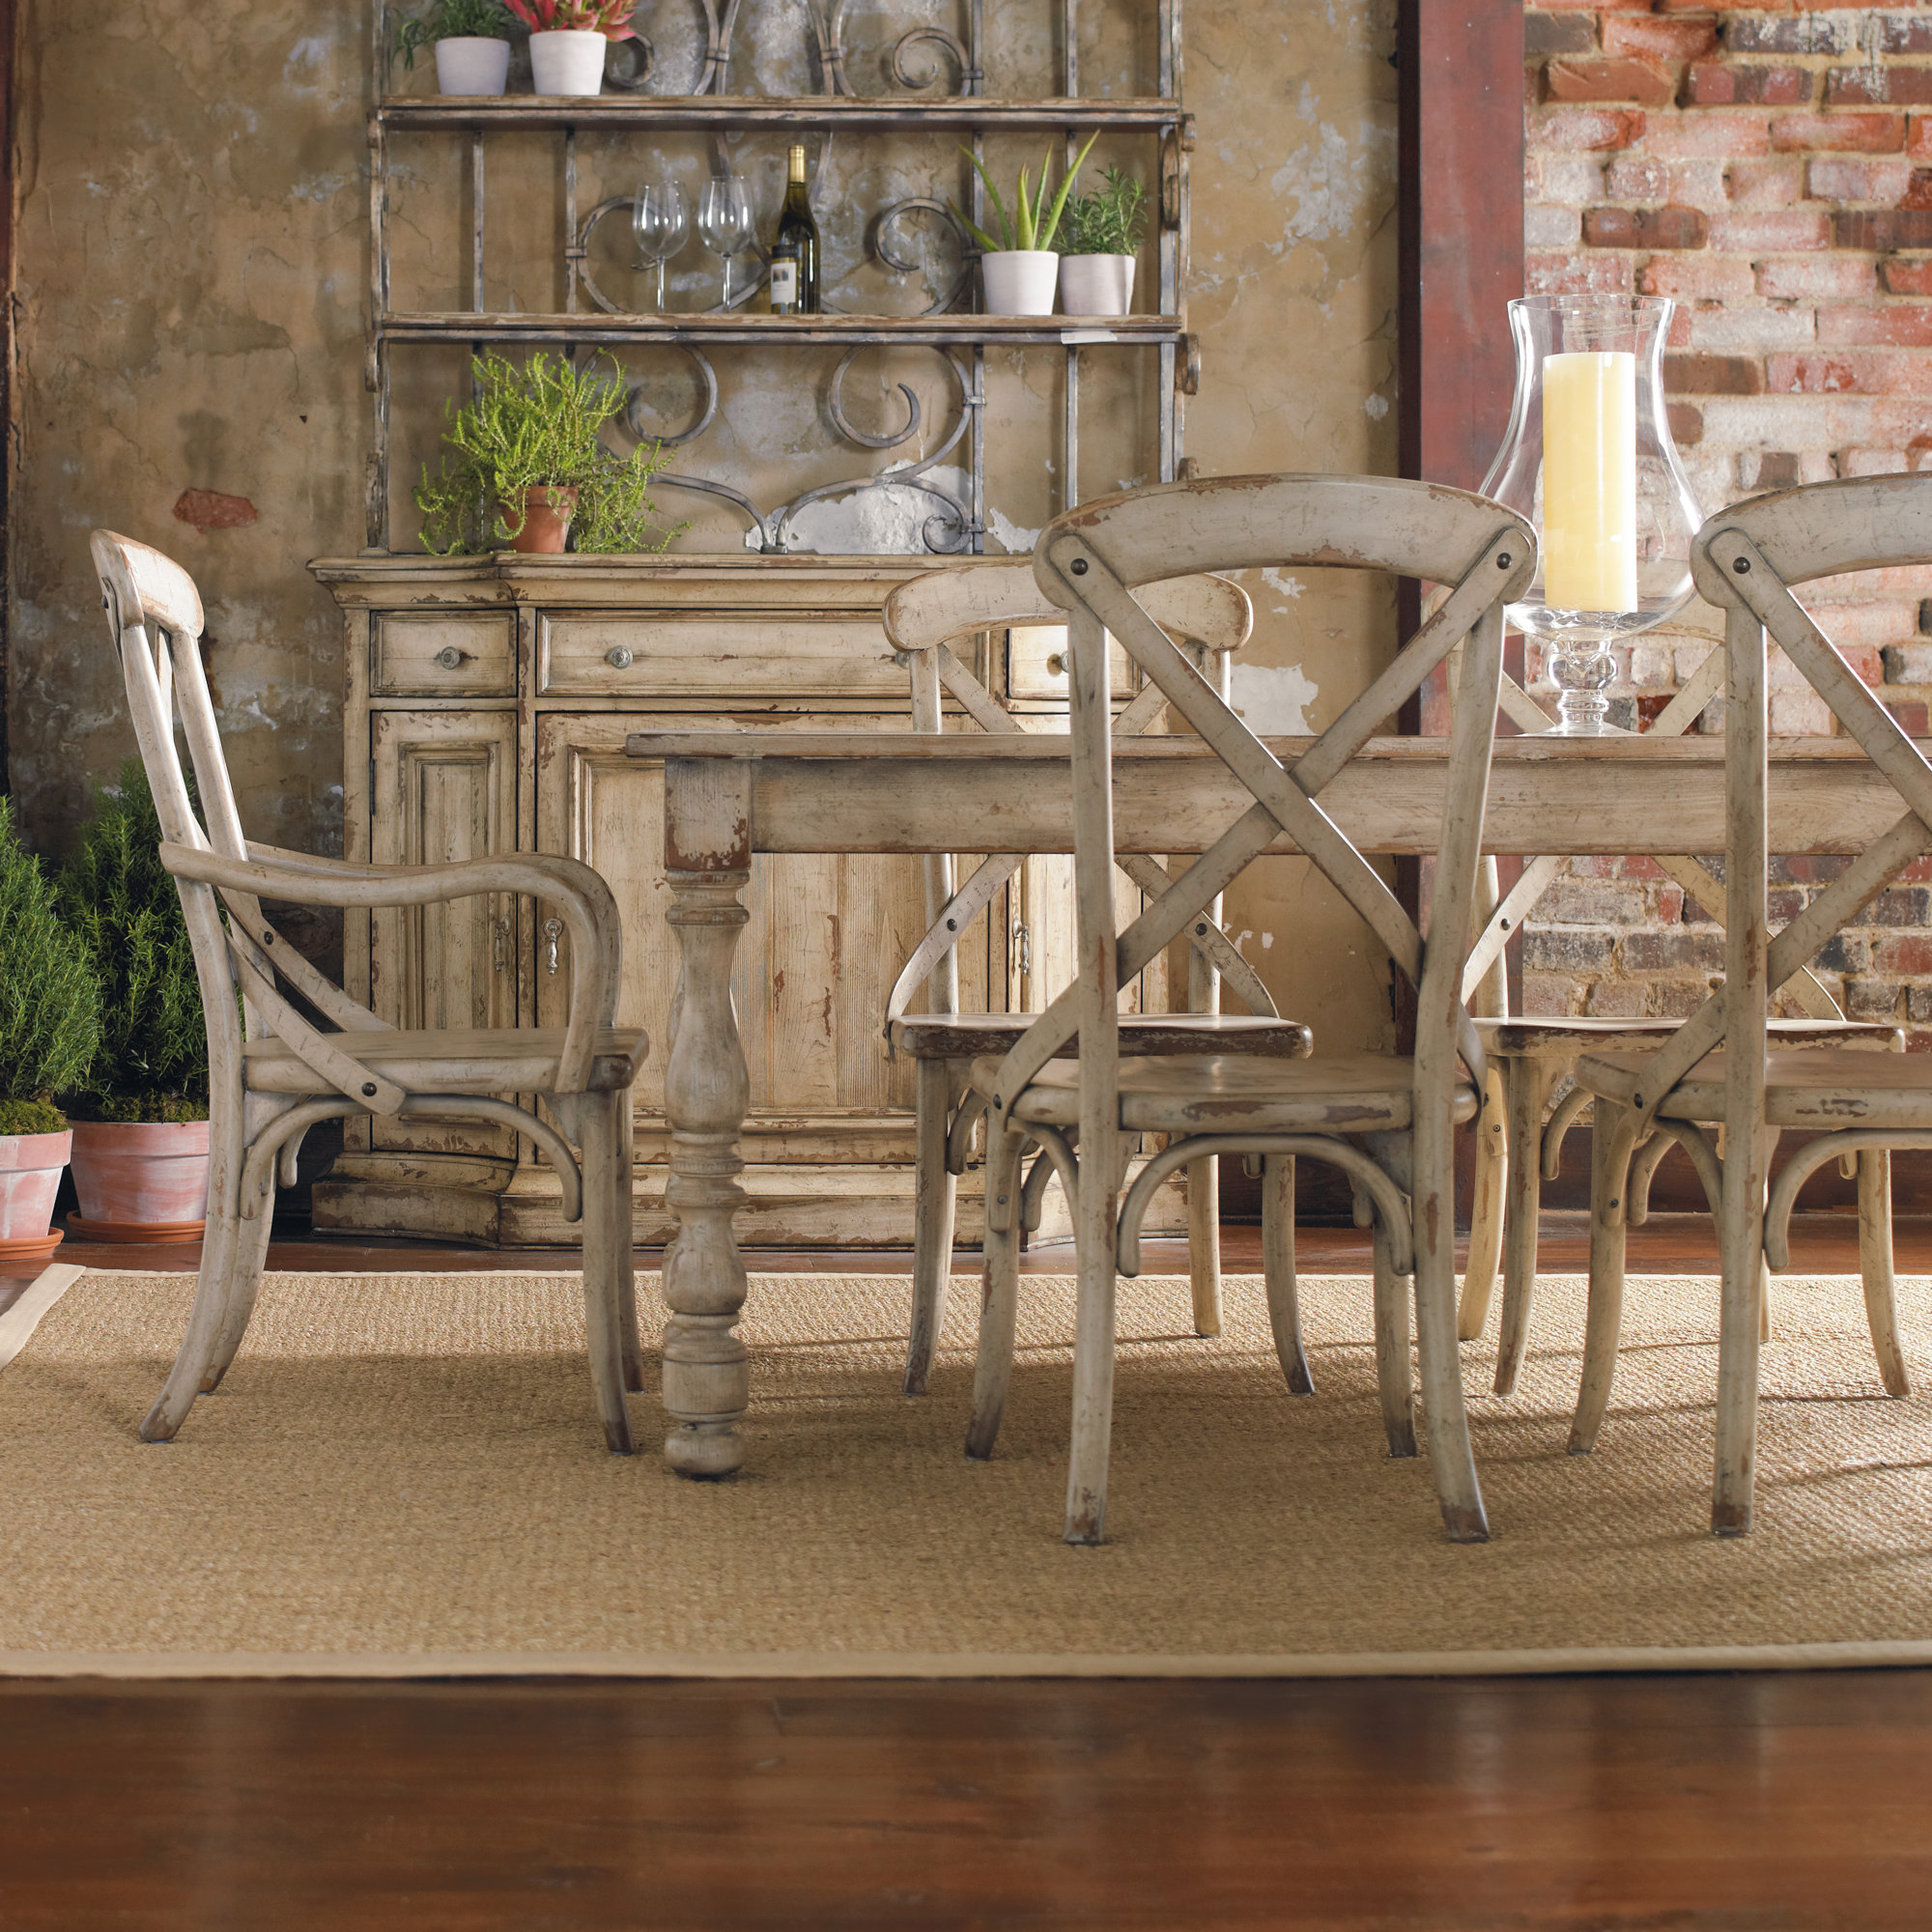
I wanted my top to be the gray wash that’s so hot right now from Restoration Hardware.
So with all three choices, I decided to combine them the best I could.
First we had to sand down the top.

We sanded the table top and seats of the chairs using an orbital sander to remove the initial stain and followed up a hand block sander for the fine finishing.


On our original table, we added distressing to give the top character. We made sure to keep those intact when we were sanding this second time.


This one is my favorite! I took a huge screw and a rubber mallet and banged these marks on several spots on the table. It was a great stress release.

Make sure to use a tack cloth to get all the sanding dust off.

Now for the stain, I wanted to go with a washed, worn look. I had some Valspar Antiquing Glaze on hand.
I watered it down and simply just wiped it on and let it soak in.

First coat, still wet.
LOVE the character coming out.

After it dried, you can tell that it’s not nearly as dark as when it was wet,
so I applied a second coat.

Much better!

While the top was drying, we lifted the table and began to paint over the cream with white we had leftover from painting our closet interiors.
Don’t judge my messy garage, y’all!

I didn’t completely cover it with paint since I knew I would be distressing and glazing the bottom with the same antique glaze. I purposely painted in varied stripes and patterns to add to that aged, weathered look.
It’s all about Beauty in the Blemishes!

Now here’s where I messed up.

I had read online the ease and beauty of using paste wax on furniture. When we refinished the table top a few years back, the poly I used was a pain on pine and left tons of fisheyes in the finish.
 It was a breeze to apply and will definitely use it one other pieces of furniture in the future, but after our first meal….

Okay, so I felt incredibly stupid.
Wax + Heat are not friends. You can say it… DUH! I was so excited to use the table and almost cried after we ate a hot bowl of soup that naturally heats the china and left that ugly ring above.
Then…. ugh!

*sigh* boys…A couple of days later, after wiping the table after my messy, messy boys, I noticed that it wasn’t just heat that ruined the wax, but anything acidic or oily.

So I was back to square one, and sanded the wax off. I was able to keep most of the finish, but had to reapply one more coat of the Glaze/Water mixture.
Finally the hero of the story arrived:
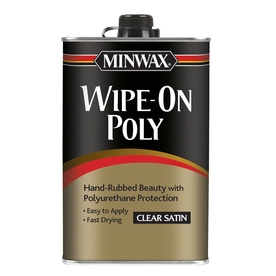
source Lowes
This stuff made my day!
Minx Wipe-on Poly, where have you been…or….where were you 4 years ago?
No fisheyes, just a smooth, satiny surface. CRISIS AVERTED!


It was a beautiful finish to my worn weathered look I was hoping to achieve,
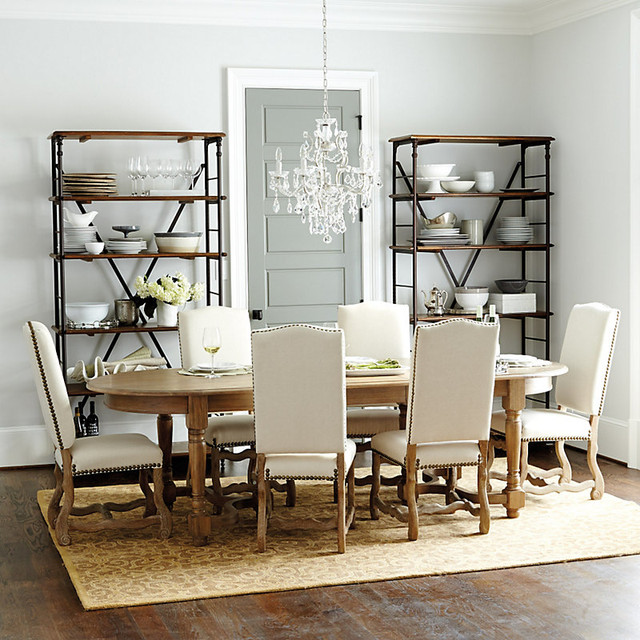
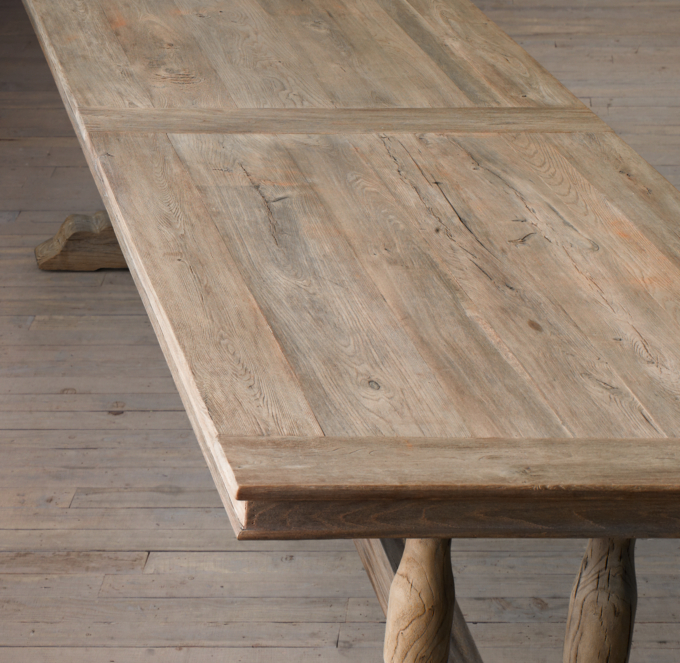
and now the final reveal:


I love the variegated effect the wash created. It went from Red Mahogany, to a grayish worn top.

The chairs were painted with Sherwin Williams Dovetail left over from our
Farmhouse Kitchen Remodel.
What a contrast of the before and after.

The seats were stained with the same Glaze/Water mixture and poly’d as well.

I glazed the chairs to match the weathered look.

I think the legs turned out beautifully, much like the inspiration piece.
I took a planer type tool, scraped the sides and then glazed over them.

And, my chandy looks gorgeous hanging above!


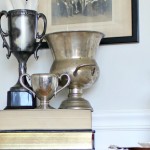
Adding a few farmhouse style elements tie in the vintage items throughout the room like this chicken wire salt and pepper holder with mason jar shakers.


My heirloom vignette stands out beautifully in the corner opposite my Heirloom Hutch.

From two toned to Farmhouse, I love the new look of my table and I only paid $20!