For those of you with an SLR camera, or a higher-end point-and-shoot, there is a great tool you can use to capture a fuller range of light than you would normally expect with your camera.
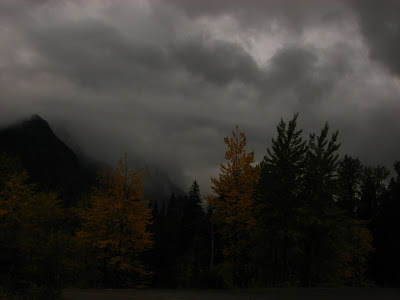
According to the brilliant Tim Cooper, the human eye can take in about 11 stops of light (meaning we can see things from a wide range of brightness and darkness) whereas a camera can only capture about 5 stops worth. (I should note that I take full responsibility for any faulty information here.) So while we may see with our eyes all the details of darker close-up objects and a the clouds in a bright sky, our camera will have to choose:
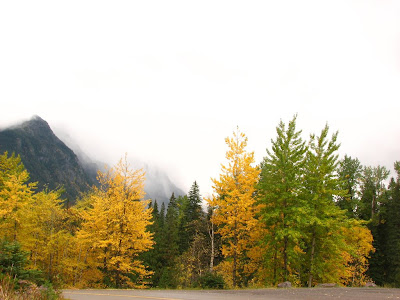 details in the foreground and a blown-out sky.
(oh, and I should note that a split or ‘graduated’ neutral density filter will do the same thing that photoshop does – only with photoshop you can play with it a bit more) Either way, you can come out with an image looking like this:
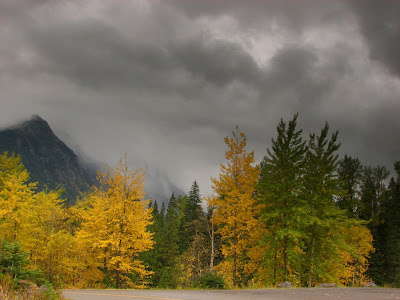 Notice that it preserves most of the brightness of the trees in the second image while bringing in the detailed clouds of the first.
To do this you need a tripod so that you can take two identical pictures with different camera settings. With advanced point-and-shoots you can manually increase/decrease the f-stop on the camera to get the desired result. Note that when shooting landscapes you should keep your ISO set at its lowest possible setting and use longer exposures to pull in the light and color more deeply and truly. The easiest way to get multiple shots with varied f-stops is to use a feature called “bracketing.”
With this setting you simply hit the shutter button once and it takes three pictures – one at your setting, one above it, and one below it (darker and brighter) in f-stop.
Then you open your photos in photoshop, cut one and paste it as a layer on top of the other, and then go to “create layer mask.” This will let you use the gradient tool (which is with the paint-bucket) to make the top layer a graded transparency (just as the filter above could have done in the first place).
Here is another example of the work in progress:
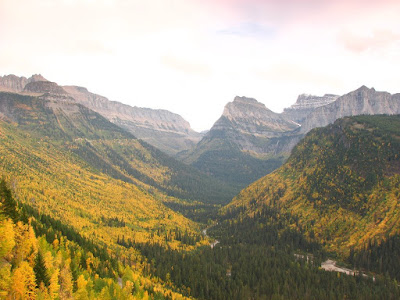
 Anywho… I should note that these came from my camera which magically reappeared today! (It had been lost from the trip, lost with 300+ photos, including these.) So I have plenty more to work on and post. Oh, and I should plug my friend Patia’s great review of the Olympus DSLR E-420. It has much better info than what I could give on the pros and cons of an SLR vs point-and-shoot – plus a photo of a handsome fellow with a couple other handsome young fellows in tow…
Happy shooting, peaceful living, and splendid days to you all.

