Choosing the Right Paper for Your Grimoire
If you’re planning a physical grimoire, paper is something you’ll need to consider. Here are a few things to keep in mind while you’re in the designing stage of your grimoire.
If you’re planning to use a bound book, look at the paper inside it. The lighter the paper, the more difficult it will be to glue things to it (the paper will wrinkle and buckle easily). Also if the paper is light, it is more likely that your ink may bleed through to the second side of the page, making it impossible for you to write on both sides of the paper. Conversely, the thicker the paper, the fewer pages the book will contain, meaning that you’ll have to replace it sooner.
Think also about whether you will be handwriting or using a printer. The average weight of copy or inkjet printer paper may be a bit light if you’re planning to use paint, markers, or glue, so check the weight on the package. The higher the weight of the paper, the thicker the sheet. Average printer paper is around twenty pounds, while seventy pounds is like light card stock (think the heavy paper that tickets are printed on, or even a light postcard weight). Always check to see the maximum weight of paper your printer can handle too. The brightness of the white of the paper may also be an issue. Brightness describes how much light reflects off the paper. Average printer paper has a brightness of about 80. The higher the number, the brighter the white will appear, because it reflects more light.
In the design process, you may choose a variety of papers. If you plan to glue things to paper or paint in your grimoire, a heavier weight may be a good choice for those pages, while regular inkjet printer paper may serve for the others.
You can also look into making your own paper. It’s actually easier than it sounds. Use the following activity to make an herbal paper for writing your spells.
MAKING HERBAL PAPER
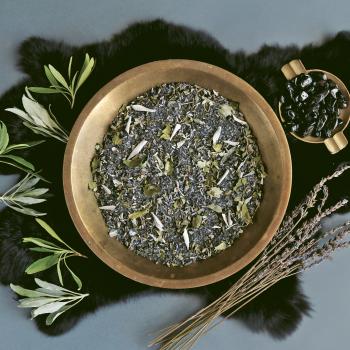
Making your own paper is a great way to involve the energy of herbs and flowers in your spellcraft, as well as to be able to empower your spellcraft from beginning to end to really set your intentions. Please note that this project calls for a blender. Pick one up at a thrift store; don’t use a good one for this. A thrift store food processor could work as well. If you want tinted paper, add a few drops of food coloring to the blender. Start with one or two and blend; less is more!

NOTE: Writing on this paper could be tricky. A felt-tip pen might bleed, and a very fine ballpoint pen could scratch the paper surface instead of laying down ink. Experiment with scraps of the paper to see how different inks react before using a pairing in an actual spell or other magical situation.
WHAT YOU NEED
• Herbal inclusions keyed to your goal
• Screening (mosquito screen made of nylon or wire)
• 8″ × 10″ wooden picture frame with glass insert
• Heavy stapler
• Mortar andpestle
• Shredded paper (approximately 2 handfuls to make 1 sheet of paper)
• Bucket or deep waterproof container
• Water
• Blender
• 2–3 towels (old bath towels work well for this)
• Blotting paper (newspaper, craft paper, etc.)
• Heavy book
• Envelope for storage
WHAT TO DO
1. Choose herbs and/or flowers to incorporate in your paper according to your magical goal.
2. Prepare the screen mold for your paper: Remove glass insert of picture frame and set aside to use later in this activity. Take your screening and stretch it across the back of the 8″ × 10″
picture frame. Staple it securely in place.
3. Grind the dried plant matter well with a mortar and pestle or crumble the dried flowers.
4. Take the shredded paper and soak it in a bucket of water for 15–20 minutes. (If your shredded paper is thicker or heavier, it can take longer.).
5. Fill the blender halfway full with water, then add a spoonful of the soaked paper; close the blender and process it. Stop, add another spoonful of soaked paper, and repeat. Don’t overload the blender with just paper slurry; it can burn the motor out. Add the dried herbs to the blender and stir or pulse quickly.
6. Spoon the pulp out on the screen as evenly as possible. Put the glass insert you set aside earlier on top and press down gently. Set the frame on a folded towel to catch drips of water as it drains.
7. After the immediate water has drained, lift o the glass and carefully flip the mold over onto folded towels. Lift the mold off, then cover the wet paper sheet with another towel and press.
8. An easy way to dry the paper evenly and without buckling is to make a lasagna-type stack. Start with blotting paper, lay the handmade paper on top, cover with more blotting paper, and so forth. Put a heavy book on top to press the stack down. Check the pressed paper every day and remove it when it’s dry. How long that will be depends on how wet your slurry was, what your weather is like, and how absorbent your blotting paper is. If you find that the blotting paper is damp and your handmade paper isn’t dry yet, remove the damp blotting sheets and replace them with a fresh set.
9. Store in an envelope marked with the date and the ingredients, along with the intention set during the papermaking process. If you have paper slurry left over, drain it in a sieve, squeeze out excess water, and let it dry. You can use it again the next time you make paper.
——————
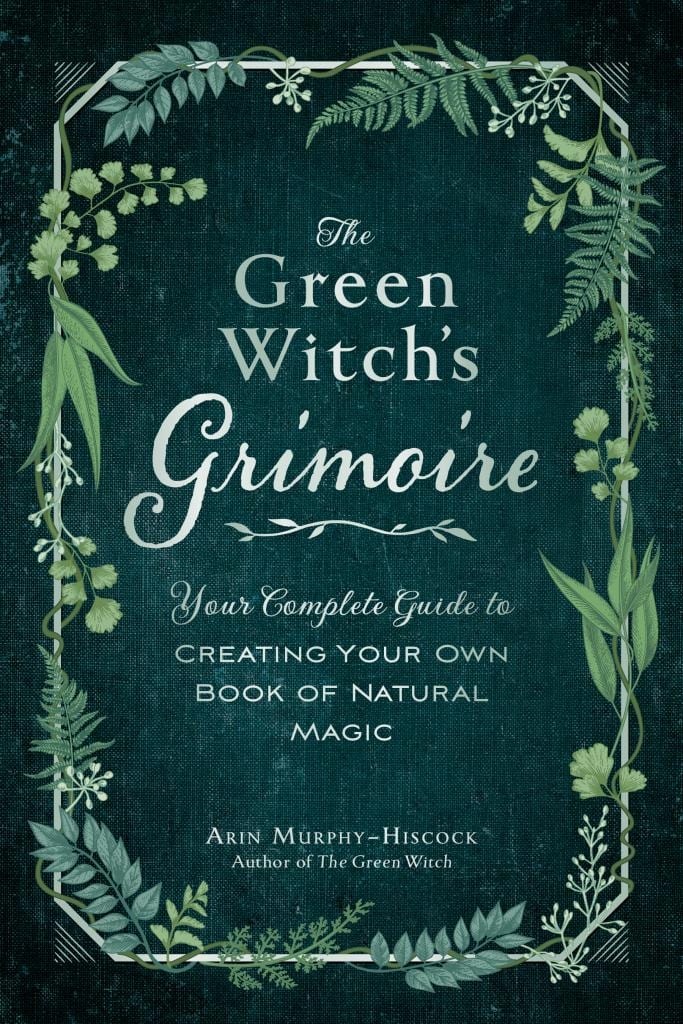
Excerpted from The Green Witch’s Grimoire by Arin Murphy-Hiscock. Copyright © 2020 by Simon & Schuster, Inc. Used by permission of the publisher. All rights reserved.