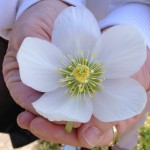
 Mother waits patiently in the shade as the work on her garden continues. The rose bushes were bought and the outline for the bed established several days ago.
Now to get rid of the sod. Depending on physical condition, strength and stamina, there are a few options. In my younger days, I would have spaded up the sod, knocked off the soil, and composted the remains. If you have time to wait, solar kill-off with clear plastic is another organic option (among many that will not be discussed here). Nowadays I use an herbicide.
I discovered this spring when expanding the vegetable bed about a foot, to use the electric edger. By trenching a patchwork over the sod, the smallish squares popped up easily with a tool called “The Claw.”


Taking my time I was able to turn the sod, lift the patch and knock the soil from the small clumps. By using a dump-wagon I didn’t have to lift a heavy pail. The remnant sod was then tossed into the hollow from the bricks.
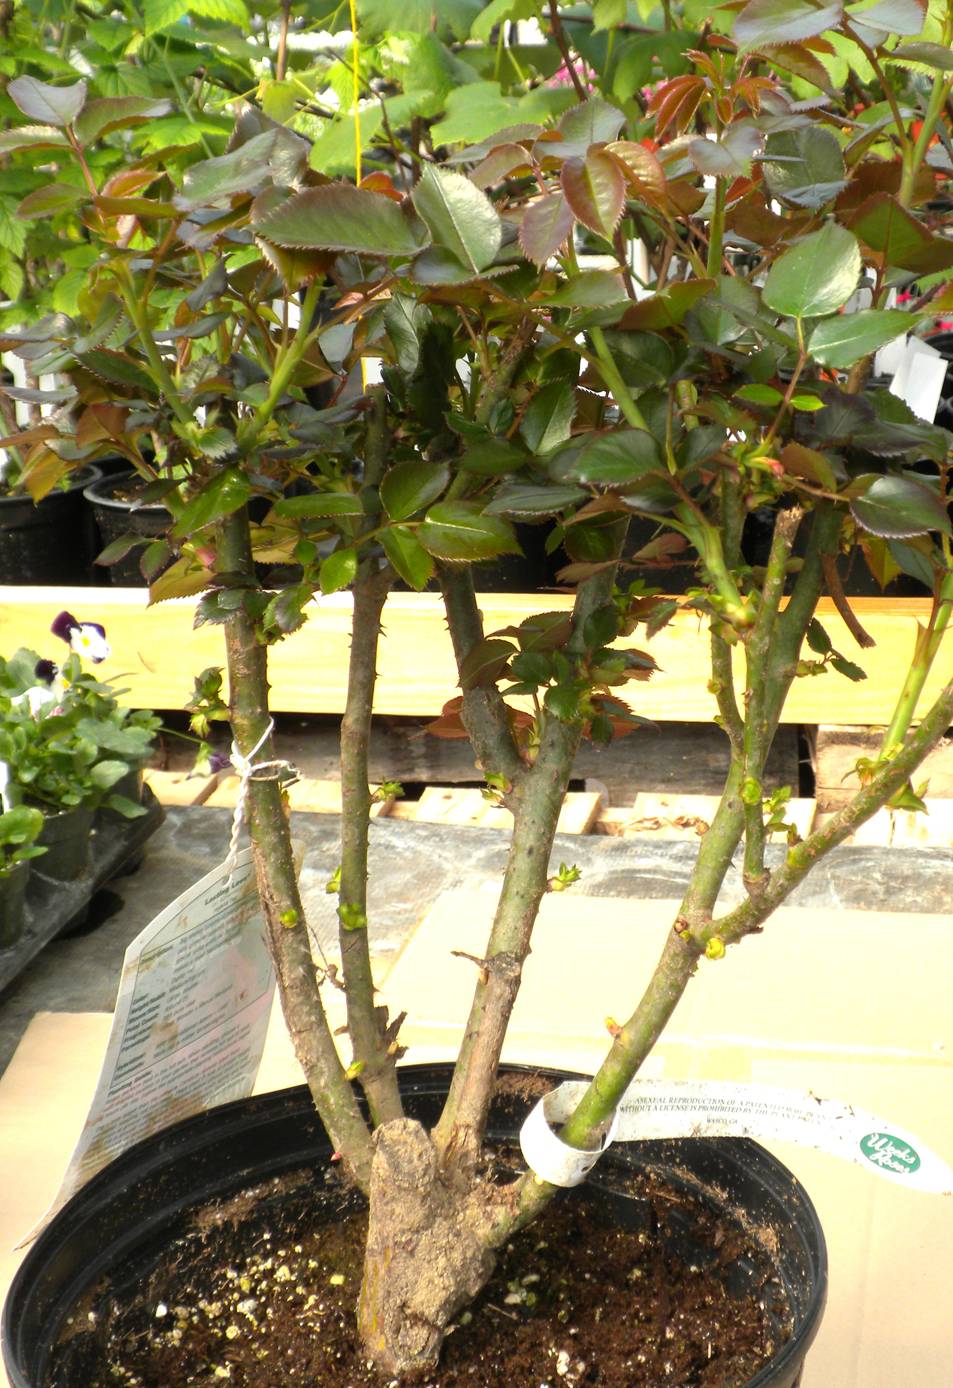
For the rose garden I left the dead sod as a weed barrier and cut a circle through it for the bushes.
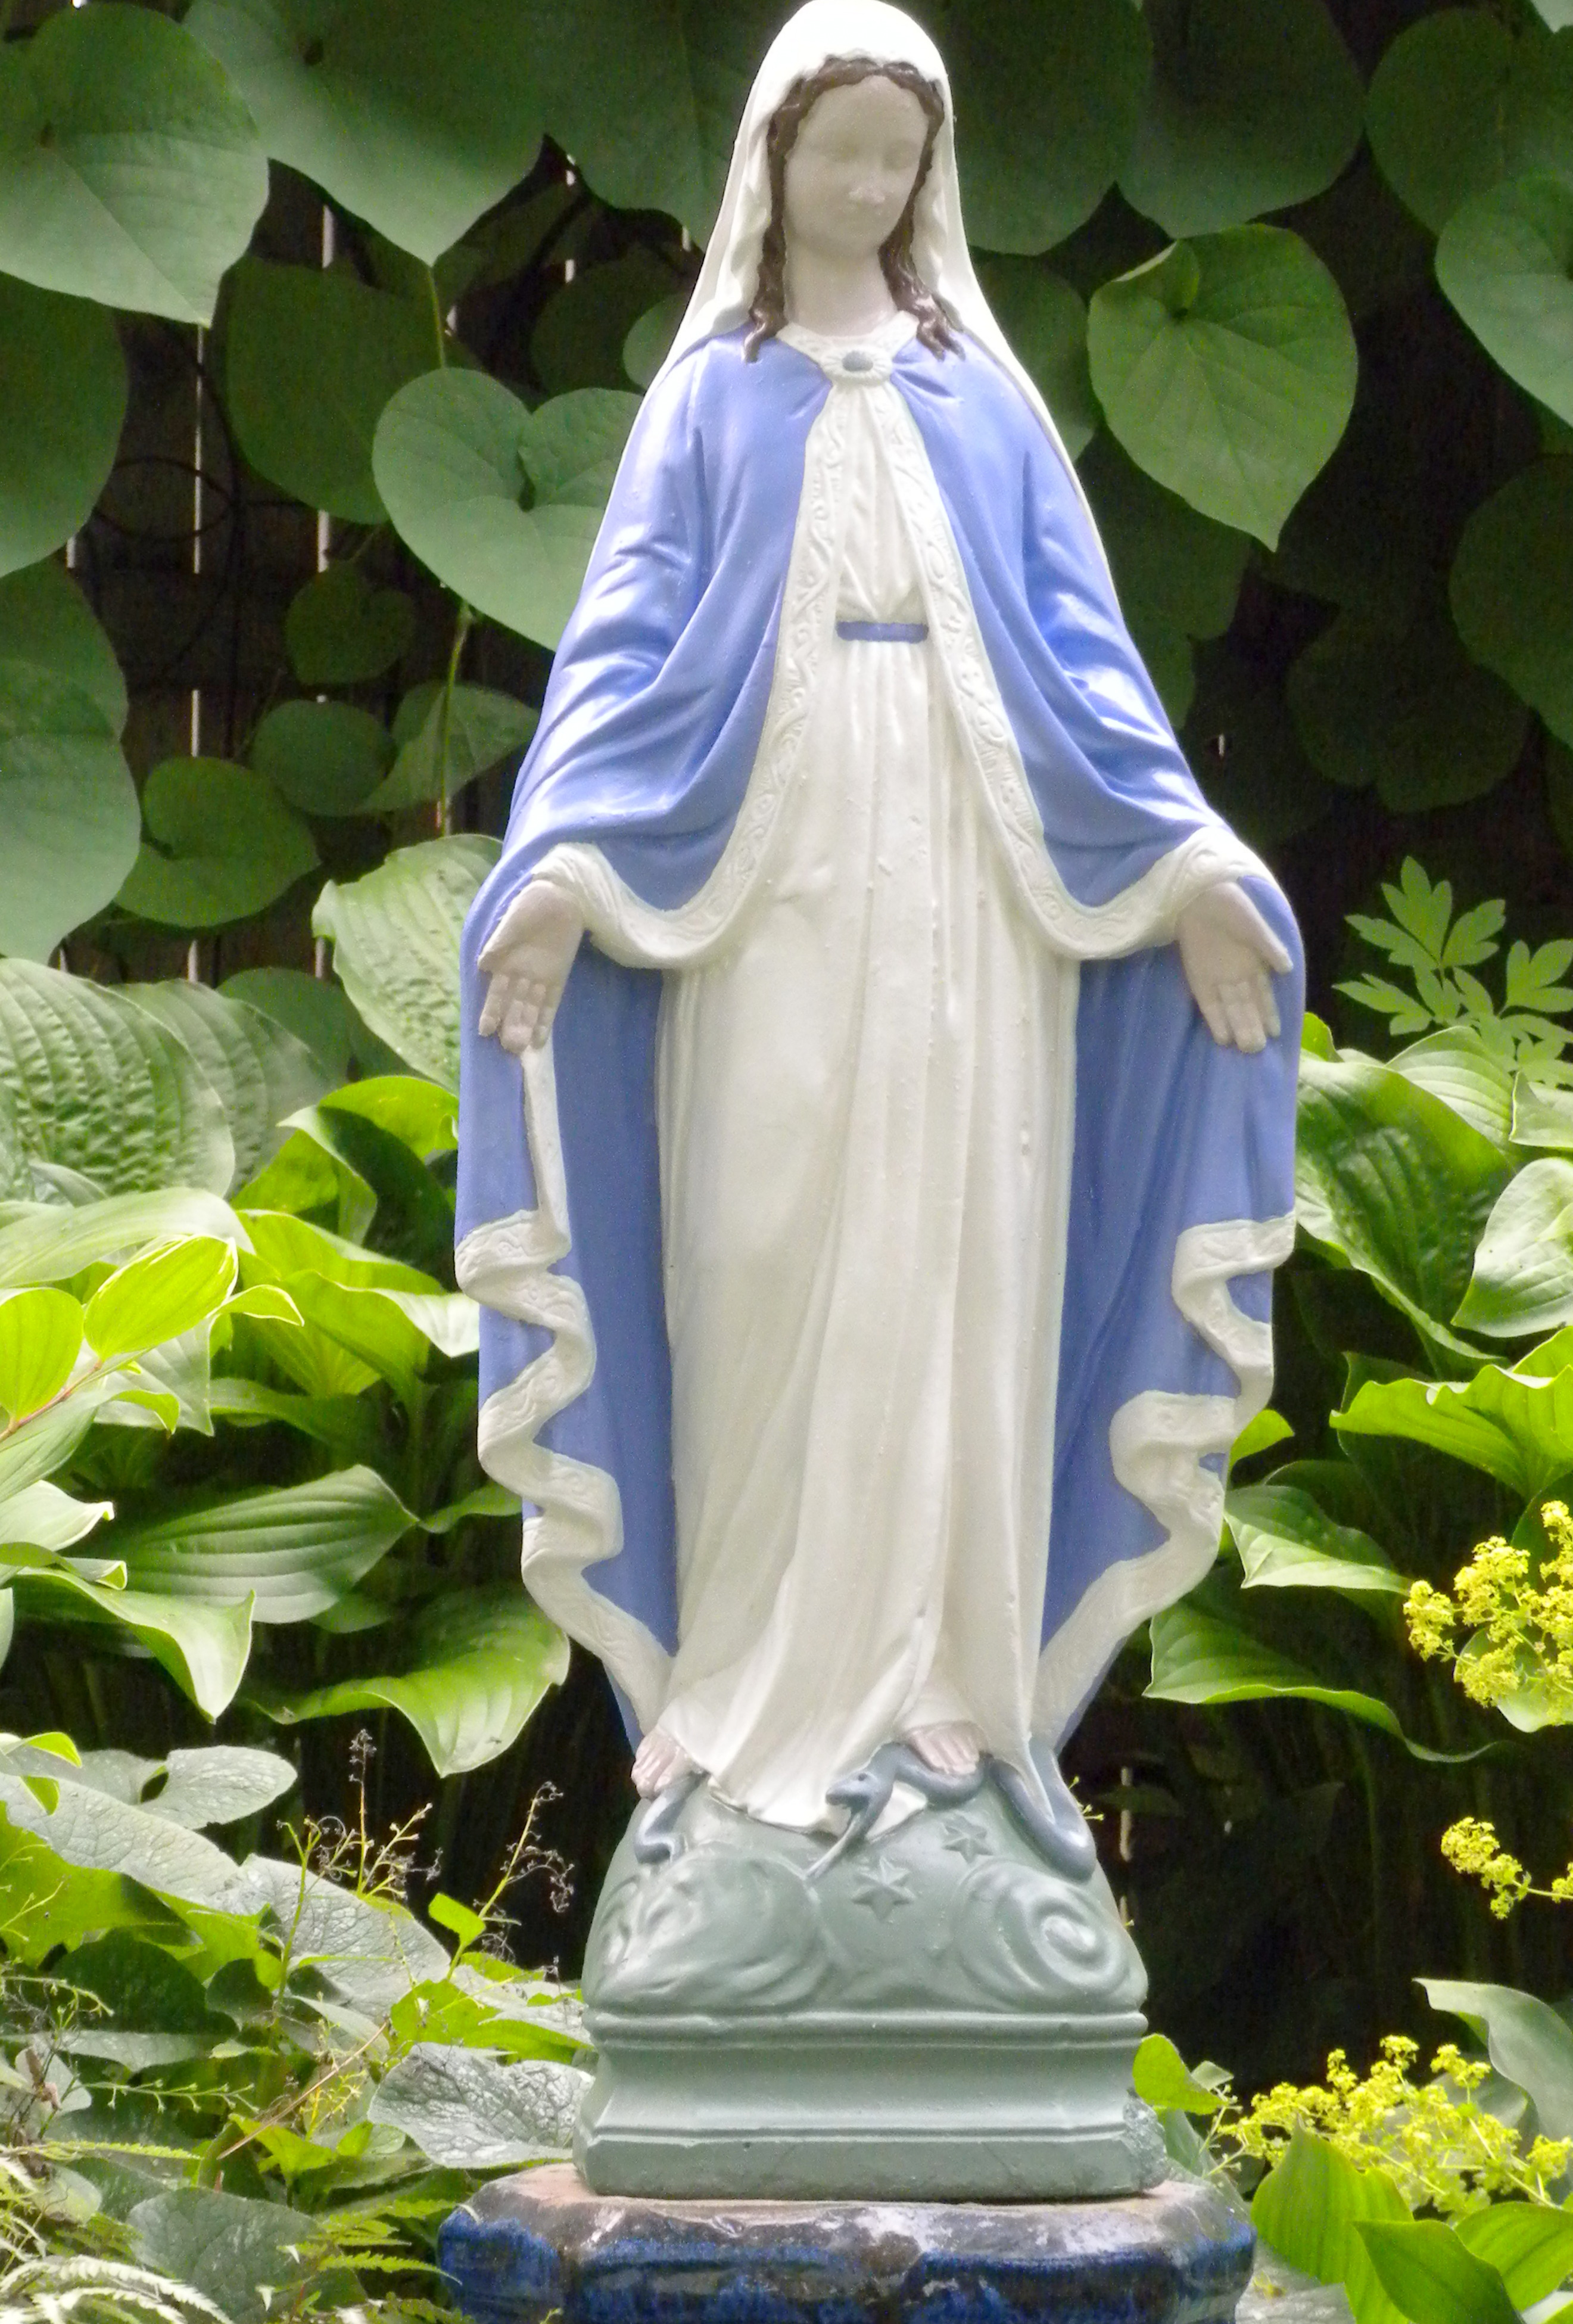
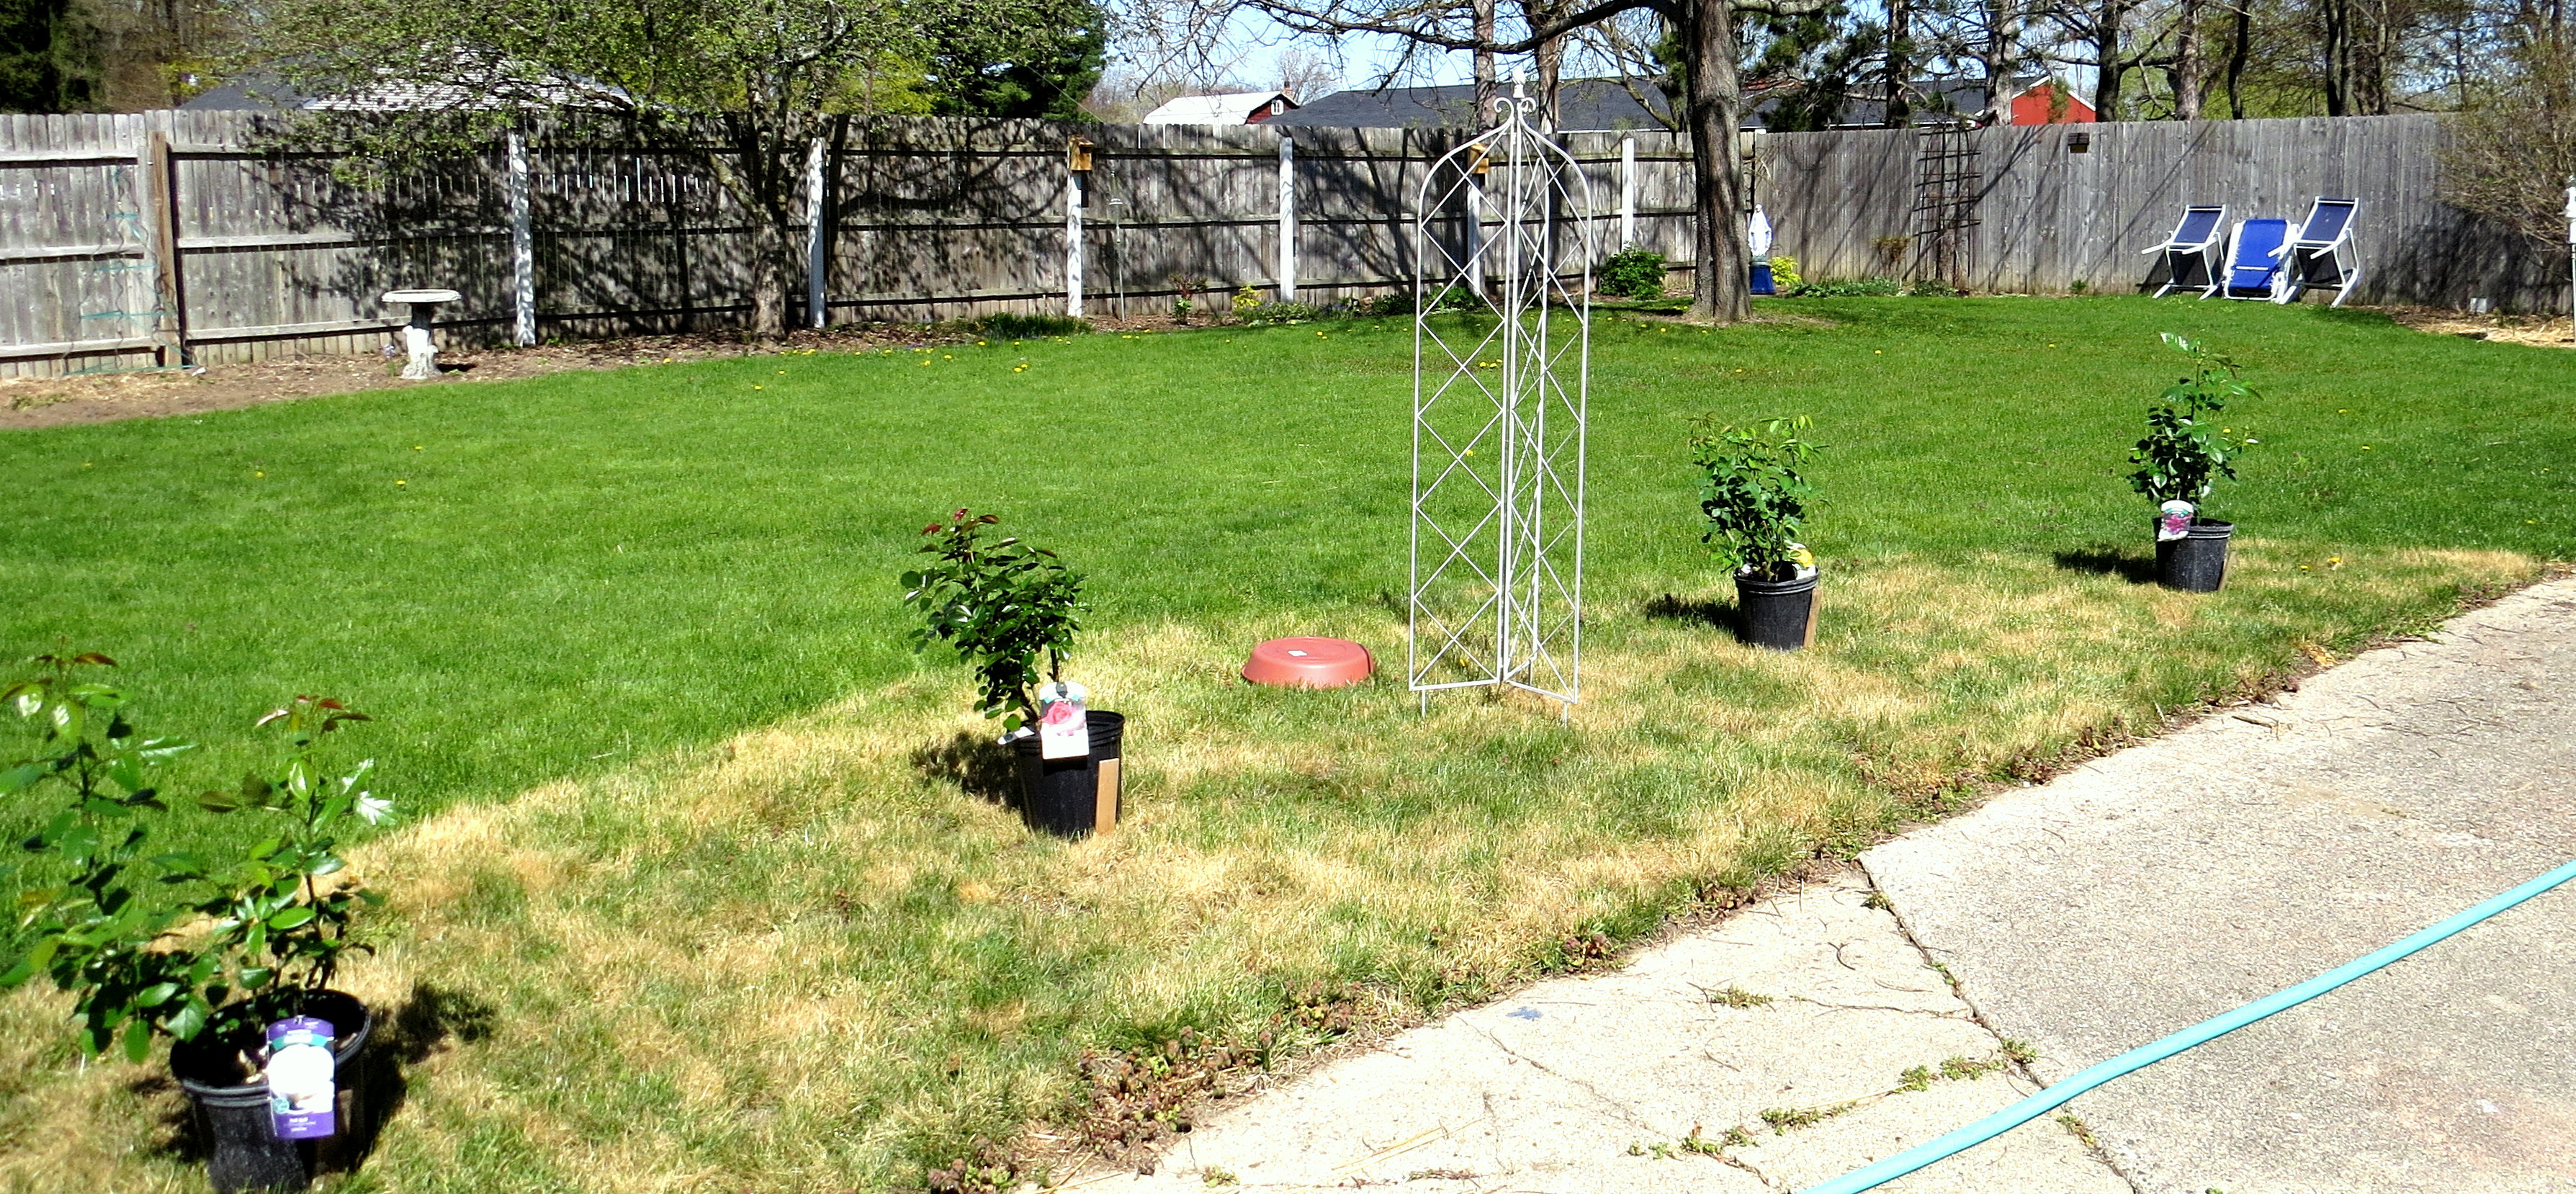 Before beginning to dig establish where the elements will be placed: bushes, vine and trellis, statue. Once the items are arranged I suggest leaving the garden for a day or two, looking at the grouping at different times and different angles. How does it look from the kitchen window? The patio? From an upstairs window? Usually you’ll want to tweak the layout, and this is best done before shovel meets soil.
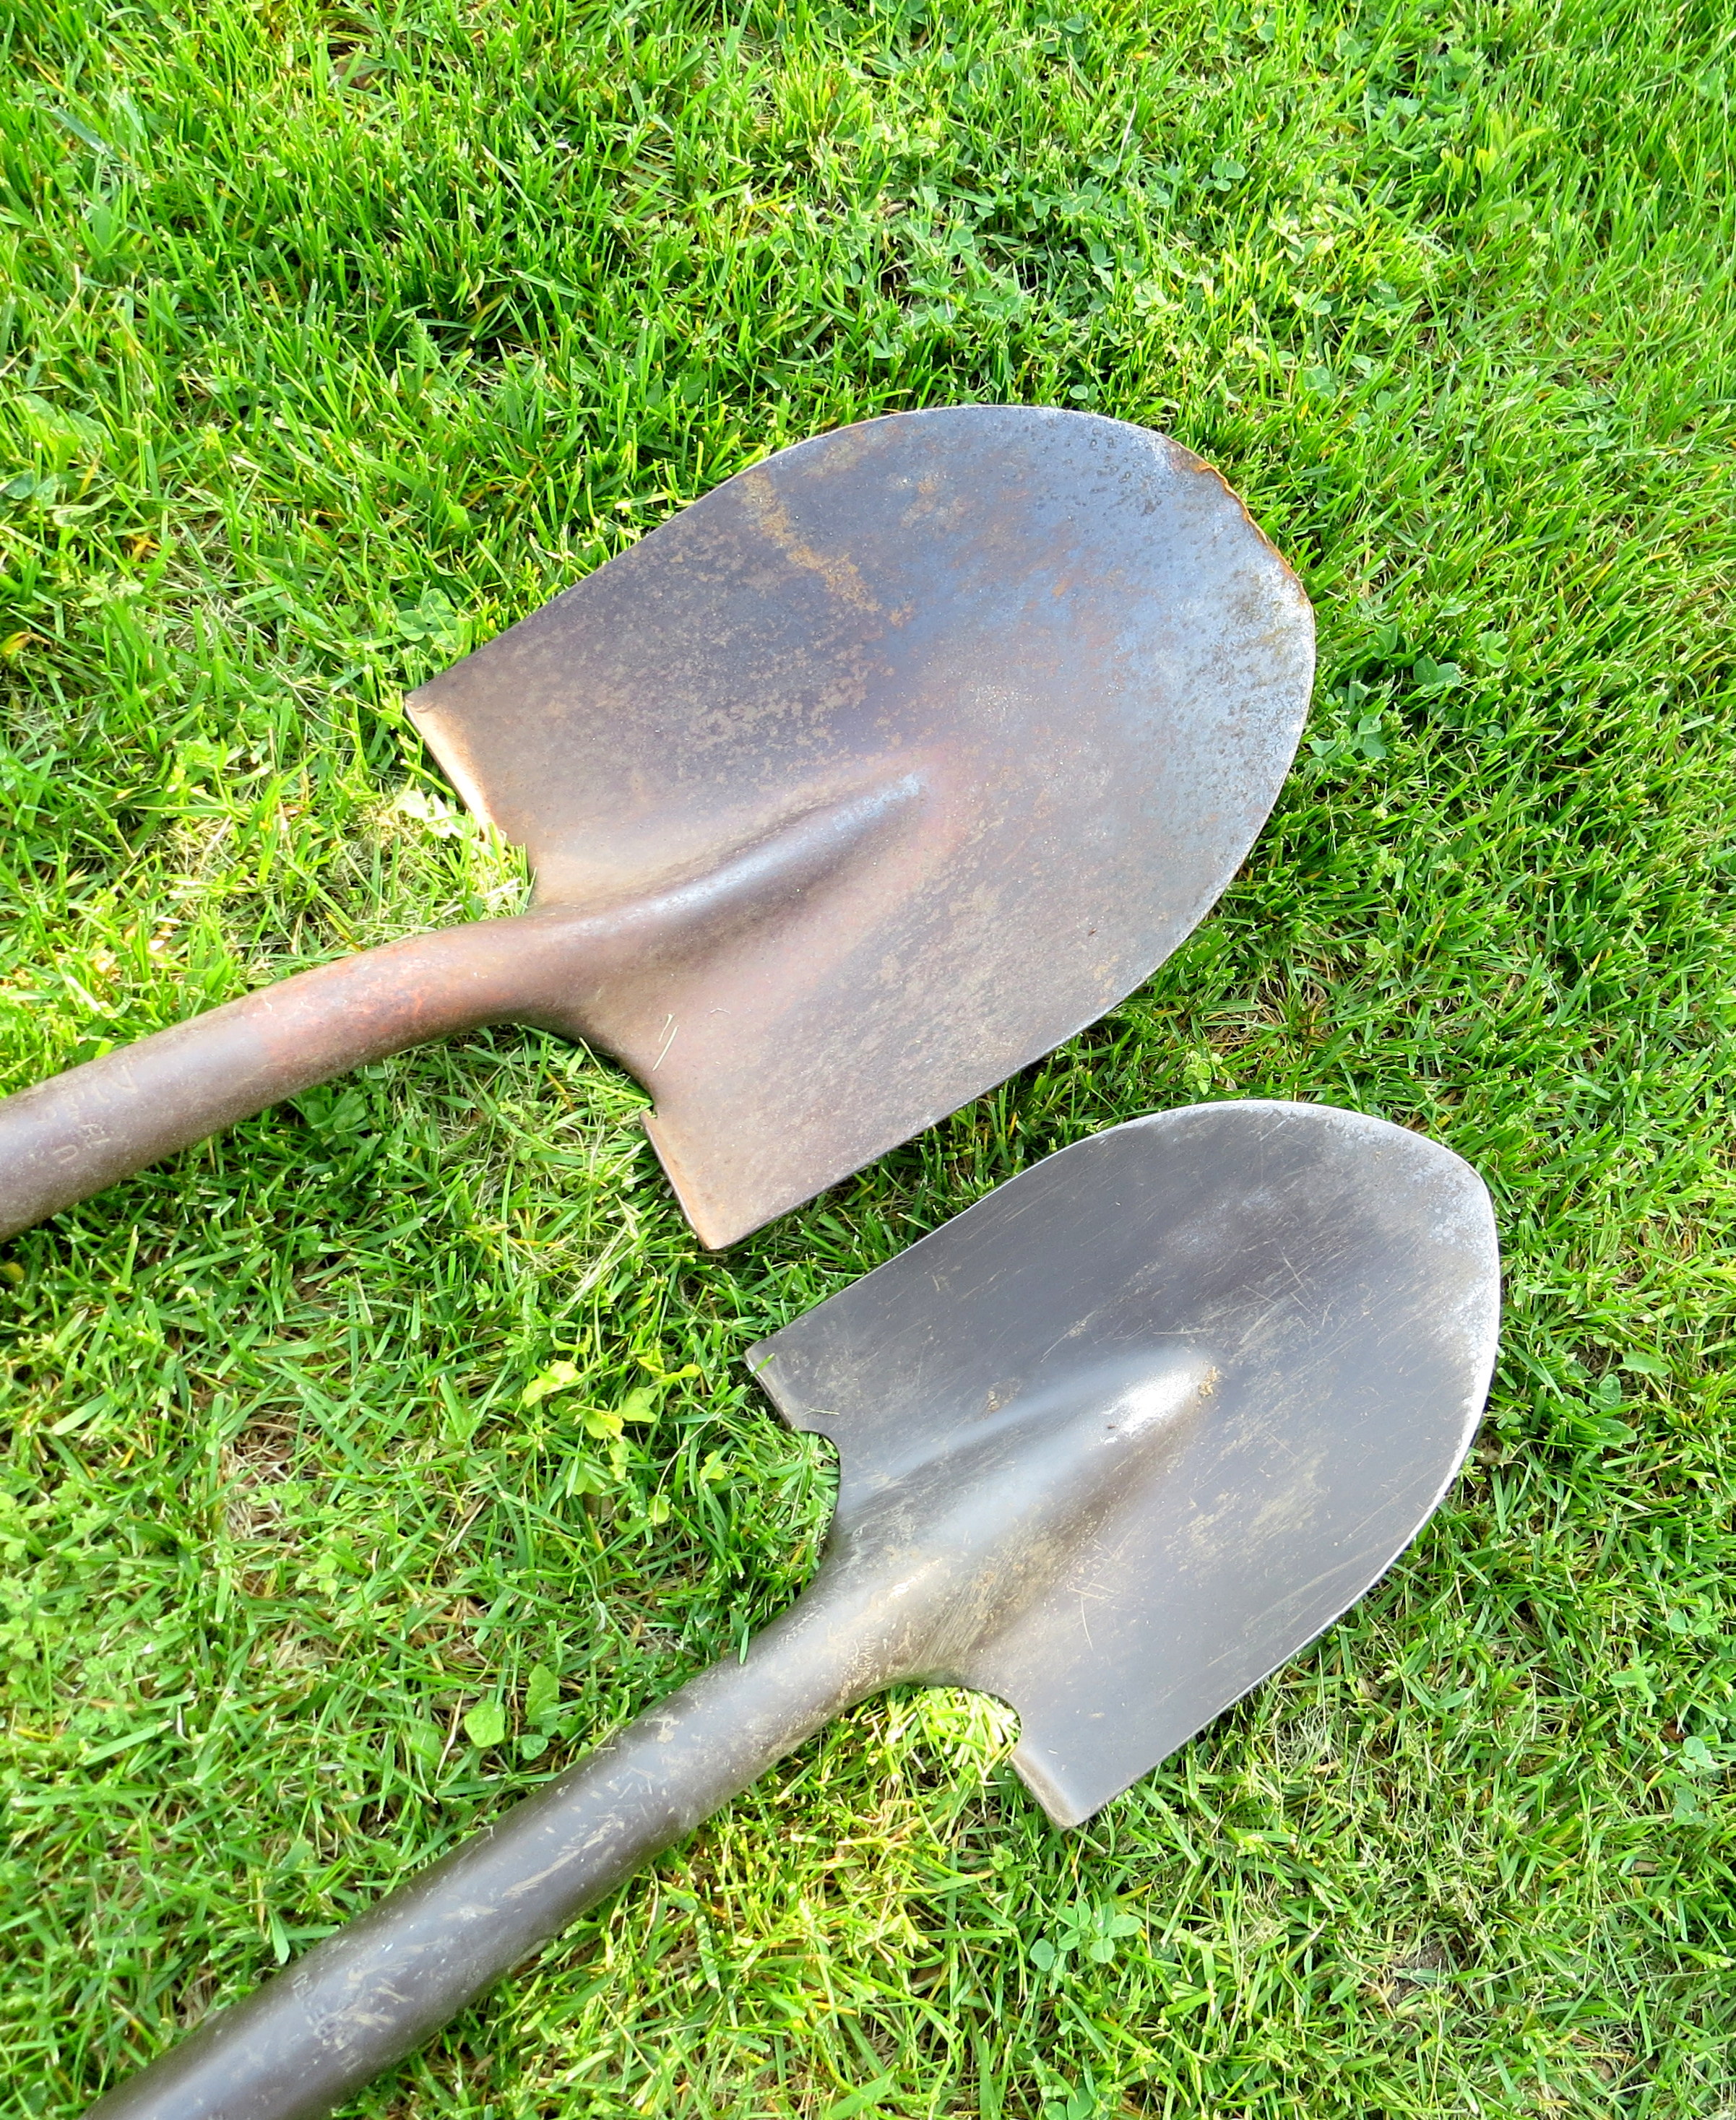 Once satisfied with the placement, I dug the holes using a smaller spade—sometimes referred to as a perennial spade—to make the cutting through and lifting sod easier. My hands aren’t as strong as they used to be, so my tools have thicker handle grips. I really like OXO tools, and found this Japanese farmer’s knife by Fiskars easy to hold and excellent to cut away roots.
The removed soil was easily shoveled into a low wide bucket placed to the side. With poorer soil mix it with peat moss or compost and fertilizer—I used Espoma Rose-tone food.

Research has found that burying the grafting point 3-4” below soil level allows roses to better survive areas with harsh winters. To make sure I’ve dug deep enough without disturbing the roots, I place the bush, pot and all, into the hole. For my zone, 3” below soil level is sufficient but I dig another inch deeper to add a layer of enhanced soil on the bottom.
Okay, so the hole is dug and the soil enhanced. Fill the empty hole with water; wait until it has all dissipated. Tip the bucket on its side so it will be easier to reach and pull the fertilized soil into the hole. Add an inch of soil to the bottom, gently remove the pot from the rose—either cut it off or slide it from the roots—and place the root mass in the hole. Adjust accordingly for appearance and vertical alignment. Add soil about 1/3 the way up, add a little water and wait, add another third of soil, water, and finish by creating a well with the soil at ground level.
Repeat with the other rose bushes. I was able to plant a bush every-other day.
Next, ground cloth, mulch and the finishing touches. For now, aspirin and iced tea!
All images by Margaret Rose Realy, Obl OSB. All rights reserved.