Apple no longer ships hard copies of its OS.
If you want the OS, you’ve gotta download it from the App store.
If it flops over for some reason, you can, theoretically, reinstall and even reformat from this same App store. Most of the time, that works. I just reformatted two laptops entirely with the App store.
But sometimes, such as those times when you are feeling really lousy and taking high-powered cough meds, you may, as I did, wipe your main hard drive on your big honking desktop, thus rendering that perviously smart machine as dumb and useless as a rock. On that day, you will need a bootable copy of Yosemite. Because, you see, if said hard drive is well and truly wiped, as in wiped so thoroughly that the installer files are gone, then you, my friend, have yourself a digital blank sheet and you can’t mount it to get the App store to recognize it to format it and install the OS.
You are, in a phrase, up the creek without a paddle.
I did that to myself last week. I was too sick at the time to even figure out how to fix it. I just shut it down and closed my office door. The laptops kept me running until my little head cleared.
Then, I spent a few anxious hours googling for a solution. I ended up putting several ideas together to get this particular fix, which worked for me.
Here is how to make a bootable copy of the current Mac OS (Yosemite) on a bootable usb drive. You need a working Mac to do this. So, if you’ve wiped your only hard drive in your only Mac, you may need to borrow a friend’s. Either that, or see if the folks at the Apple store will help you.
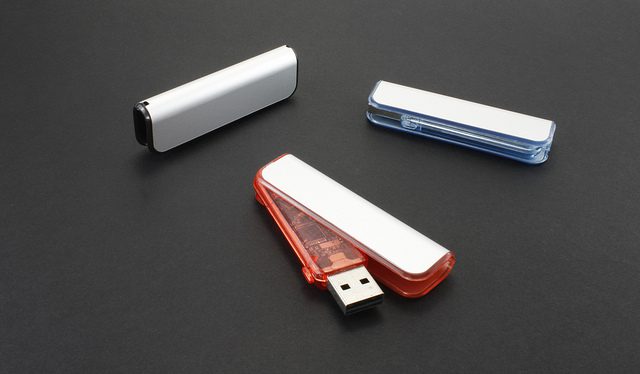
1. Get yourself one of those little usb drives. You know, the kind that go on a keychain. The one I used is 32 gb. You might be able to do it on 20 gb or even a little less. But these things have gotten so cheap, I wouldn’t quibble.
2. Format the usb drive. Here’s how: 1. Insert the little drive into a working usb port. 2. Click on Finder. 3. Go to the top of your screen and click on “Go” in the Finder menus. 4. Scroll down to “utilities” and click. 5. A new screen will open. Find Disk Utility and click on that. 6. You will see a new screen. There will be a list of drives on the right side. Click on your usb drive. 7. Click on “erase.” 8. Click on “mac os extended journaled.” 9. Make sure the drive is named “Untitled.” 10. Click on “apply.” 11. After the drive erases, click on Partitions and set it to 1 partition. 12. Click on “options” and then select GUID partition table. 11. Click on apply. You have now formatted your usb drive so that it can accept a bootable copy of Yosemite.
3. Exit Disk Utilities.
4. Go to the App store and click on “install Yosemite.” Wait for it to download.
5. When the download finishes, Yosemite will start a screen to install. Do not click “continue.” Exit out of the installer.
6. Click on your Finder again. Under the “Go” menu, click on terminal.
7. When terminal launches, type this in exactly:
sudo /Applications/Install\ OS\ X\ Yosemite.app/Contents/Resources/createinstallmedia --volume /Volumes/Untitled --applicationpath /Applications/Install\ OS\ X\ Yosemite.app --nointeraction
8. Hit “Return.”
9. Type in your password when terminal asks for it. You won’t see the password when you type it. Hit Return.
10. Your computer will digest this for a while, then it will tell you that it is erasing the disk and give you a percentage of how much it’s done. After that, it will tell you that it’s copying the installer. Then it will say that the copy is complete and that it is making the disk bootable. Then, it will say it’s copying the boot files, followed by “copy complete,” followed, finally, by “done.”
You now have a bootable copy of Yosemite on your usb drive.
All this took hours on my computer. The usb drive is s-l-o-w. So make sure your computer is attached to a power source and let it be. I set mine up and loaded the dishwasher, watched a movie, read for a while and got ready for bed. It took about 4 hours for it to finish.
Now. For the disclaimers. I’m not an IT person. I don’t know come here from sic ’em about computer stuff. I am only posting this to try to help you. I think everybody needs a bootable copy of their operating system for times when their drive goes belly up.
I created a boot disk using this recipe. It worked for me. If it doesn’t work for you, you will have to seek help from someone who knows more than I do. I do not warranty this advice. It’s just one computer neophyte, sharing something that worked for her with other computer neophytes.
People who have smarter and better ways to do this, feel free to share them in the comboxes. But do it courteously. I don’t want to delete useful information just because the poster is behaving like a jerk, but please, try not to behave like a jerk. Also, do not post links to things you’re selling.
I hope this helps someone. That is my only reason for posting it.